Комментарии:

Look forward to the next five! Thanks.
Ответить
Thank you Carl! Keep them coming!
Ответить
A bunch of good tips! Waiting for the next 5. Thanks!!
Ответить
I love it Carl! I always look forward to your insights. I think you are really innovative with a lot of your ideas. Keep em comin'!
Ответить
Very innovative modifications and jigs! Thanks for sharing.
Ответить
These are great tips Carl. Thanks for sharing
Ответить
Very interesting! Thanks a lot for sharing!
Ответить
Great tips Carl. Love the concept of making a master template for the insert and then batching them out!
Ответить
Excellent tips!
Ответить
Thanks for the tips!!
Ответить
thanks for sharing!!!
Ответить
Thanks for sharing, you're a very innovative fellow :)
Ответить
Carl, thank you for sharing your time and skills with us. Great tips one and all.
Ответить
Carl, your limitless inventing mind is a blessing for anyone watching your posted videos. Please continue this mission.
And for all the thumbs down people, they can shove it where ever the Sun doesn't shine!

Great Tips! I especially like the master template for the table saw inserts. My inserts are getting long in the tooth, time for some new ones. Thanks for posting.
Ответить
Great way to quickly make inserts. Thank you for sharing.
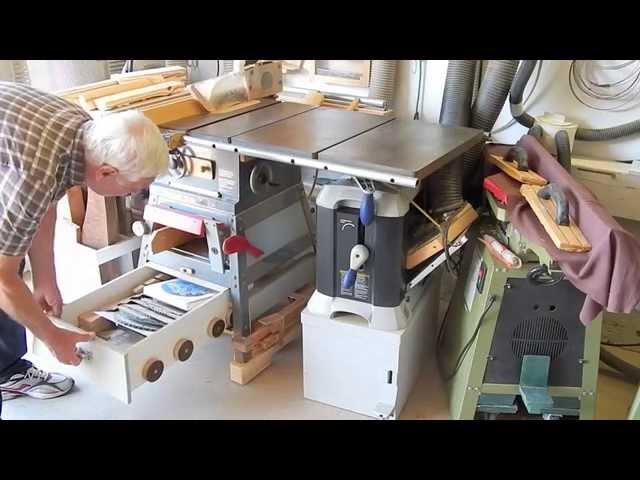
One observation: I noticed that you have your dust collection fan and bag assembly in front of a window. Personally I don't like to block windows with equipment.

Carl. Glad to have found your informative and enjoyable videos! Picked up a few really nice techniques and I'm rather "seasoned" myself! Heh! Thanks and keep 'em coming!
Ответить
Well done! Thanks for your efforts. Especially liked your piece about zero-clearance inserts!
Ответить
Thanks
Ответить
You've got some great tips there, off to part two.
Ответить
Ingenious Carl! Thx for sharing. Will definitely be using your ideas.
Ответить
All really good tips! One to add - I used to make my tablesaw inserts just like you do... but then I realized I could double-stick the actual insert to a piece of scrap and use the pattern bit in my router... skipping the step of having to cut one out on a jigsaw/sander. Then I use the first pattern cut to repeat the process just like you show.
Ответить
I would be interested in your rip fence build. Maybe you could make a video on it. I have a Craftsman saw and the fence is a piece of junk!
Ответить
Great tips Carl!!
Ответить
Another great video
Ответить


![[해외감동사연] 한국 산불 대응은 차원이 다르다고? 미국은 배워야 된다며 난리난 상황 [해외감동사연] 한국 산불 대응은 차원이 다르다고? 미국은 배워야 된다며 난리난 상황](https://hdtube.cc/img/upload/QVdOQVBpRlZLMnY.jpg)


![[해외감동사연] 퇴역한 미군들 한국으로 이민 줄이어 [해외감동사연] 퇴역한 미군들 한국으로 이민 줄이어](https://hdtube.cc/img/upload/STNBTGlPekhTZzU.jpg)


