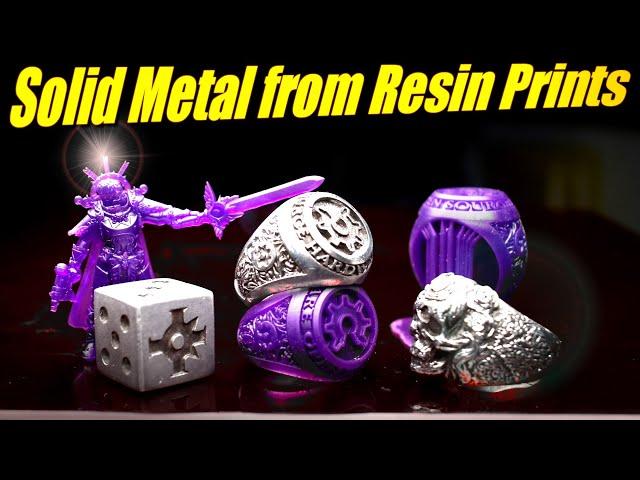
3D RESIN Print to Solid Metal, Investment Casting | with Elegoo Mars 4 Max
Комментарии:

It is cool to watch your videos because this is exactly the step I am looking to make next. I have been sand casting for 2ish years and have done two lost pla's in there. I am wanting to take the next step toward resin printing for the details you talked about. Thank you for the honest information and reviews. I always feel I can trust the information you put out.
Ответить
That extra inch ALWAYS matters.... :)
Ответить
Looking good. I've been melting down some scrap aluminum in the Vevor, though I made my own steel crucible for it. Works great and I can bang it on the bench to get the crud out of the bottom when I'm done. Next up, casting into Paper shell molds, because nobody's done that before, so obviously I need to try it.
Ответить
i print down as low as 10 micron layers on my mars 3 but see barely any difference in 10 and 20 micron
Ответить
So, when's that van gettin' finished?
😂🤣😂🤣

larger project, eh? Anything's a dildo if you're brave enough.
Ответить
Audio quality bad for some reason but otherwise another no BS good video :-) I want to use this for an ultimate surge tank base that would be impossible to machine.
Ответить
Wow, great work Paul! You’re making me want to branch out!
Ответить
Plaster of paris mixed with fine sand and clay powder works extremely well. That's the basic recipe for investment and it's super cheap.
Ответить
Damn, I loved this episode! I feel like I just finished a whole semester in advanced material fabrication at university! Can you show me how to fly helicopters now?
Ответить
9 inches are big already I would even say too big 🫣
Ответить
small is not what I need
Ответить
The metal die is awesome! They work best if you can have a felt/leather padded dice tray or tabletop that won’t dent.
Ответить
Why pay that much for the resin tho ? Is it special for casting ? I 3d print minis (40k ,d and d etc...) i use sunlu nylon like 35 to 45 a L. I use a satun 8k just how much better would your brand be compared to the sun lu ?
Ответить
I'll be sure to find a supplier for my mysterious white powder.
Ответить
Thank you for choosing our Siraya Tech Cast Purple resin. The results look fantastic! If in the future, you need to cast a design that is thicker than dice, you might want to consider using our Cast True Blue. This version, although slightly more challenging to print due to its higher wax content and thus softer consistency, provides easier burnout than the purple variant.
Ответить
Increase or decrease shop time if you're going to make something for the other significant?
Ответить
I wrote my thesis as a mechanical engineer of the same process! I modeled a Casio watch case and printed/casted the same way. Very informative video, thank you!
Ответить
Hollow dies
Ответить
PLEASE try printing a large complex object with a deep convex interior cavity! Like a Toy gun with a deep barrel, or somethin. I dare you?
Ответить
If your 8k printer is larger your resolution will be similar
Ответить
HELLO!! I remember from a video that you mentioned 3d files for a pouring basin and sprue that we can download. Where can i find those? Im getting very close to doing my first casting using polycast filament. Im really hoping i can print a pouring basin to give my casting the best chance to not have porosity. Thank you sir
Ответить
go big.. I was looking at this to possibly do end tanks for an intercooler haha
Ответить
Is there a company you can send parts too to have casted in metal? I have a ANYCUBIC printer and I need some parts casted in metal.
Ответить
Oh re: Metal dice… I think you need to round the corners a bit and maybe even round the edges oh so slightly
Ответить
crazy idea, instead of printing all the models and then adding the glue stick, wouldn't it be faster to just make the model have all the vents and things it needs from the get go?
Ответить
What do you think about using silicone safe resin to make silicone molds of the printed part to cast in wax for use in regular plaster? Trying to find a way around running a 240v for a kiln out to my garage lol
Ответить
Thanks for the video keep on keeping on.
Ответить
Most PRO resin needs to be cured aprox. 90min. we use 3D systems on a Anycubic D2 and 6K.
Ответить
thank you so much that was so helpful for me
Ответить
I always used Kerr Satin Cast 20 for gold jewelry. I bought some tail pipe to use for casting flasks that I bought from a muffler/tail pipe place, I don't know if it comes in stainless steel or not.Don't be afraid of the centrifuge that is what I always used, I had a blowout but there was no problem the molten metal got caught in the splash pan, I was scared of the open broken arm centrifugal caster ,they have a super strong spring that could bust the bone up in your arm or worse I think if you ever screwed up , I have a Neycraft Spincaster with the splash pan built on so there is no worry of accidentally getting you arm in the way , I always just pulled the splash pan/tub bact to release it when it was ready to cast. I tried the vacuum casting and did not like it at all because it didn't produce as nice a casting and there was more to clean up. If you have a jewelry supply shop where you live you can buy the investment powder there, there could be one together with a lapidary supply also. Depending on how far the supply house is it might be cheaper to drive and go get what you want.
Ответить
Too much rambling. Make your point and get on with it.
Ответить
What temp should the flask be for when I pour molten silver into the investment? Thanks, great video :)
Ответить
I love all your casting tutorial type stuff. Please more metal work
Ответить
I just cure this resin in a jar with water. Works great and fast.
Ответить
Back when I was making glass casting molds, I used a 50/50 mix of plaster and fine mesh silica. Super cheap from a ceramic supply house, but you have to buy them separately and mix them. Also, it's a respiratory hazard, so get a good N100 mask and filter.
Ответить
Hello everyone, I hope you are well! I recently purchased Siraya Tech Cast resin which melts in heat for making jewelry etc. and so I printed calibration cones for my printing parameters. So I do the post process, namely IPA then drying with compressed air then hot water for 30 seconds then cold water for 30 seconds then drying then curing in vegetable glycerin so that there is no oxygen in contact with the resin during curing. I clean the glycerin with water then for a little test I put it through a heat gun to see how it melts etc... and at the maximum power of my heat gun (I would say 300°C it sends wood) the part still didn't melt... there are several pieces that came off but nothing actually melted... I don't know if this is normal? and if anyone has already used it could they tell me how long you have to put it in the oven for it to melt when it's in the plaster! Thank you in advance for your valuable help!!
Ответить
Can you use the melting furnace for the burn out process, isn't it controlled heat?
Ответить
Oh, you found the sirayatech resin! Thats what i use too!
Ответить
Bit of advice, if you want to sprue, burnout pla filament glued on with a little wax or hot glue works for sprues, or you can just model them into your model, or use a support manually placed on the model and left on to cure. :)
Ответить
👍💓!!!
Ответить
Sorry i got lost at the end
Ответить
This is the first time I've ever seen anyone cast the Ameralabs Town print. It came out well.
Ответить
What’s your settings for this resin!?
Ответить
Have you tried doing it with regular resin?
Ответить
Show more video of the process and less video of you talking.
Ответить
I've noticed that both you and VOGman are getting some bulging with this resin on the AmeriLabs test town print in the circle with the + inside it, at the top.
I've been using this resin and getting similar issues. specifically at the inside-bottom of azure holes in rings. I'm doing 0.01mm layer heights on a Saturn 3, but it is also happening at .025mm heights. Have you found any way to eliminate this?

Hope you’re using power resin by now
Ответить




![[이거레알] 계절밥상 겨울 신메뉴를 털어보았다! ㅇㄱㄹㅇ 리뷰 : 계절밥상! [이거레알] 계절밥상 겨울 신메뉴를 털어보았다! ㅇㄱㄹㅇ 리뷰 : 계절밥상!](https://hdtube.cc/img/upload/Z3FsQkF5N1QtTF8.jpg)

