Комментарии:

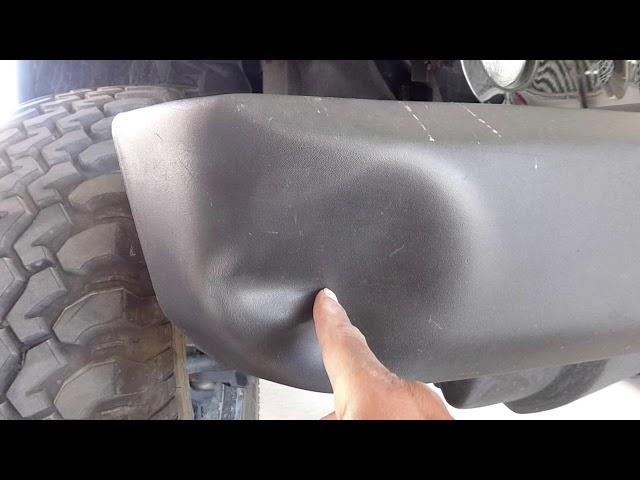
Thanks, worked like a charm! Sorry no pics, but I have a tip about the access hole. All my blades were dull, so I ended up breaking out my Rigid multi-tool. Easy, but made a much rougher end product with lots of plastic shreds still attached to edges of cuts. I almost started cleaning them up, but had a last minute idea. Turned out to be a blessing, as once I was done fixing dent, I used the heat gun and a screwdriver to let me melt/mash them right back into the cuts for an easy clean seal! Thanks again!
Ответить
Thank you so much!! A literal life saver 💕
Ответить
You just saved me a lot of $$$! Thank you!
Ответить
Do you notice you're little square cut-out piece much? The Polyvalence vid was great, but too much for my work ethic.
Ответить
Was there any of the plastic stress marks(when the plastic turns white) and if so did they go away when using the heat gun?
Ответить
you don’t need make that big big hole , drill a small one , and use screw driver push it
Ответить
😴😴😴
Ответить
Nice job! We're glad our video was able to help you out. It's great you were able to fix your bumper and save some money!
Ответить
you get the thumbs up
Ответить
awesome good job
Ответить
Hats off sir i ll do the same thing but i dont have heat gun
Ответить
Its Christopher Walken
Ответить
nice work. will take some of the comments and apply this info to my own rear bumper issue.
Ответить
Can I use a hairdryer if I don’t have a heat gun???
Ответить
I have to do this project soon, you could use a stepped drill bit and then hardware stores have little rubber plugs that would snap in.
Ответить
Worked like a champ!!!! Thank you!! Ed
Ответить
Eso se puede arreglar si abrir ese hoyo
Ответить


