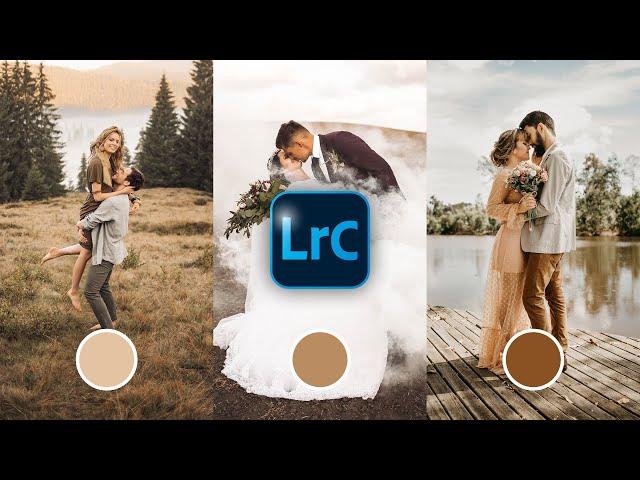
How To Create a WARM WEDDING Look Using Lightroom Classic
Комментарии:

Can you send a file of this preset so I can compare
Ответить
Before cc .... please tell what is the settings in your camera kelvin or picture profile
Ответить
I love this video. Technique still stands in 2024. Cheers!
Ответить
is this possible using luminar? thanks
Ответить
What is the camera settings for this image?
Ответить
Seems like overkill
Ответить
Tried it, absolutely did not work for me. I appreciate what you're doing for people though.
Ответить
Thank you very much
Ответить
50mm?
Ответить
Hi, how is at the temperature, adobe color? I have only color
Ответить
thanks you so much amazing tips!
Ответить
Why is in my version no HSL/Color available ???
Ответить
so good man thanks a lot
Ответить
7,200 temp how did you do it, I don't have such a value?
Ответить
Wish you’d share the preset and tell us why you’re changing those values
Ответить
Beautiful
Ответить
Puedo pagar luts con pay pal?
Ответить
Mine looked like shit lol
Ответить
I am not a fan...
Ответить
Yes that would have been helpful to me too. I am here to learn about it, but now I know, that wasn't the only video I will have to watch. It feels like cooking, but you add a lot of ingredients, than you add a lot more ingredients to undo the effect of first ingredients 🤭 😄 Still appreciate him for doing the video.
Ответить
This is the look I’ve been trying to get down for these types of photos! Thanks 🙏🏾
Ответить
Thank you!
Ответить
Thank you :) This is not only the LR lesson but also the British ;)
Ответить
Nice effects and much appreciated but I noticed that as soon as I made the tiniest adjustments on the blue curve I totally lost my image .... that is it went completely black on my screen.
Ответить
The colors also change on my subjective, how do I keep them the same? My subject stands out 😭
Ответить
So I also have Lightroom classic but the numbers are different on mine. Like for temperature it only goes up to 100 and that’s very yellow 🤷🏼♀️
Ответить
How come my Lightroom classic won't go over 100 for temp and over 5 for tint?
Ответить
Can you do an explanation of how to tweak this look when the initial application isn't as desired. EG too warm, too cool? I'd be interested in seeing some different examples and if you just do global tweaks on temperature and tint, or if you go into the curves, HSL or Grading tools. Essentially, what's your problem-solving process when an image has this applied, say across an engagement session, and fine-tuning to specific images in different lighting conditions. Thanks!
Ответить
Now when I think of clarity it sounds with his voice
Ответить
Would have been nice if you could have explained WHY you adjusted those values, not just told us what values to put in
Ответить
thank you (Y)
Ответить
Very nice content, May you suggest how to do this with Capture one or Photoshop and if is possble to create from the edited photo a kind of a LUT for photoshop or Capture One? Thanks Max
Ответить
I’m no Lr expert but it looks like you just played with the sliders a bunch. Could have applied a preset to get to the final image.
Ответить
Unbelievable! You are awesome.
Ответить
This is great! I never thought about taking our colours -- then adding colours using grading! Great tutorial! Thank you! :D
Ответить
Big fan of you,great great great
Ответить
Оригинал лучше смотрится
Ответить
Do you shoot custom white balance or what do you set on in a hot sunny day
Ответить
Seems counter-productive to apply a mess of Contrast, then raise the shadows, then apply an S curve in Curves, and then desaturate only to add color again in Grading. Photo looks nice but you don’t need all those steps contradicting each other.
Ответить
No. Just no. It's basically washing out colours and throwing on that mush on the top.
Ответить
Amazing video!! I'm only seeing "color" and "monochrome" under my profiles. Do you know why this might be?
Ответить
Waited for long time. Thanks bruh ❤️
Ответить
Great Video! The steps worked perfect with my picture! Thank you very much!
Ответить
Sir which Lightroom version r u using?
Ответить
Duuuuuuuuude I have learnt so much from your videos in the past couple days. Perfect for beginner like me. Also, I highly respect that you teach about the calibration etc, I want to master those tools 💪 Keep doing these!!
Ответить
It came out wonderful - couldn't imagine knocking the saturation down like that and adding in would make it look much more natural. thanks again
Ответить
I really love your videos. Please continue give us such video.
Ответить
Great Tutorial
Ответить


